
So you want to be a cold email marketing master? You’ve come to the right place. In this article, I’ll teach you everything you need to know about making cold emails come bearing gifts!
Let’s skip the pleasantries; bookmark this page, and let’s dive right into it.
There's no point perfecting your copy if your emails are bouncing before they hit an inbox. Findymail finds and verifies email addresses, with a guaranteed bounce rate of 5% or less.
What Is Cold Email Marketing? Cold email marketing is the strategic approach of reaching out to prospects you've never contacted before to generate leads, spark conversations, and close deals. Done right, it's personalized, targeted, and far from spam.
Why It Works:
1. 77% of B2B buyers prefer email contact
2. 89% of B2B marketers use email for lead generation
3. The average cold email reply rate is 8.5%, but the right strategy can push it above 40%
4. Follow-ups alone can double your response rate
Steps to Cold Email Marketing Done Right:
1. Warm up your inbox — Gradually build sending volume before launching campaigns to protect your sender reputation.
2. Find quality leads — Build targeted lead lists with accurate demographic, firmographic, and contact data.
3. Verify your email addresses — Use Findymail to verify emails in bulk before sending. A guaranteed bounce rate of 5% or less means your emails actually reach someone.
4. Use the right software — Apollo, Woodpecker, Lemlist, Snov.io, and Instantly all have strengths worth exploring.
5. Personalize your outreach — Go beyond first names. Reference pain points, recent news, and industry-specific challenges.
6. Nail the subject line — Keep it under 50 characters, pique curiosity, and A/B test relentlessly.
7. Write emails that convert — Lead with benefits, not features. Keep it concise, authentic, and always end with a clear CTA.
8. Schedule strategically — Tuesday through Thursday, between 10 AM and 3 PM, tends to yield the best results.
Key Best Practices:
1. Avoid spam trigger words that send you straight to the junk folder
2. Segment your audience by industry, role, or company size for better personalization
3. A/B test subject lines, CTAs, and email copy continuously
4. Familiarize yourself with DMARC, DKIM, and SPF protocols to protect your sender reputation
Cold Email Marketing Explained
First things first, what exactly is cold email marketing?
For starters, a cold email refers to an email you send to a prospect you’ve never contacted before.
It's a lot like cold calling but less intrusive and a whole lot more scalable.
Now, cold email marketing is the strategic approach and set of tactics you use to generate leads, schedule calls and meetings, and, ultimately, close deals.
It's a way to introduce yourself, your company, and your offerings to potential customers who may not have heard of you.
"But wait," you may be thinking, "isn't cold emailing just another form of spam?"
Great question! The short answer is no. Cold emailing done right is far from spam.
Unlike those unsolicited and irrelevant messages that flood our inboxes, cold email marketing is all about crafting personalized and targeted emails that are relevant and valuable to the recipient.
Ultimately, I think the goals of cold email marketing boil down to:
Generate leads: Cold email marketing is all about finding those hidden gems – potential customers just waiting to discover your amazing products/services. The goal is to reach out to these folks and capture their interest, turning them into valuable leads for your business.
Initiate conversations: Cold emails let spark a conversation with your prospects, whether a simple reply or a full-on chat. It's about getting the ball rolling and building a genuine connection with the people you're contacting.
Create awareness: You've got something extraordinary to offer, right? Cold email marketing is the perfect way to let people know about it. Spread the word, introduce yourself, and show what makes your brand unique and special.
Educate and inform: And it’s not all just about sales pitches; it’s also a chance to educate and inform your prospects. The goal is to share valuable insights and show them how your products or services can make their lives easier, better, or more awesome. It's like giving them a little sneak peek into the wonders you have to offer.
Build credibility: Trust and rapport are the secret sauces of successful relationships, and it's no different in cold email marketing. You need to be genuine, transparent, and reliable. Share success stories, customer testimonials, or anything that proves you're the real deal.
Drive conversions: Ultimately, cold email marketing drives conversions and closes those deals. A good CTA can inspire action, whether setting up a call, scheduling a meeting, or purchasing.
Just remember, cold email marketing isn't just about formalities and business jargon. It's a strategic approach that requires thought, research, and a personal touch.
With the right mindset and techniques, you can use cold email to forge meaningful connections and drive your business forward.
Cold Email Marketing: The Stats
Of course, I like to let the numbers do the talking. Here are some eye-opening statistics that highlight the power and potential of cold email marketing:
77% of B2B buyers say they prefer email contact. When it comes to B2B sales, email is the go-to choice for many buyers. It's convenient, allows for thoughtful responses, and provides a record of the conversation – a win-win for both parties.
89% of B2B marketers use email for lead generation (source: Mailigen). It's no secret that email is a crucial tool in the marketer's arsenal. Most B2B marketers rely on email to generate leads. It's a tried-and-true method that continues to deliver results.
Email marketing is the most dominant B2B marketing tactic, with an 84% adoption rate. Out of all the marketing tactics out there, email reigns supreme in the B2B realm. It's the heavyweight champion, loved by marketers for its effectiveness and impressive ROI.
The average cold email reply rate is around 8.5%, but you can boost that to over 40% with the right methods and strategies. Cold emailing may seem like a shot in the dark but don't underestimate its potential. You can significantly increase your chances of receiving positive responses with proper planning, personalization, and a sprinkle of creativity.
A third of people decide to open emails based on the subject line alone. Your subject line holds incredible power—it's the first impression that determines whether your email gets opened or banished to the dreaded "Trash" folder. Craft attention-grabbing subject lines that make recipients eager to see what's inside.
Follow-ups can double your response rate, and it can take four or more to close the deal. Persistence pays off in cold email marketing! Plus, following up with prospects shows your commitment and increases your chances of getting a response. It often takes multiple touchpoints to build trust and move prospects further along the sales journey.
How to Do Cold Email Marketing Right
Now it's time to dive into some practical tips and strategies to ensure your cold email marketing efforts go off without a hitch.
1) Get Your Inbox Warmed up and Ready
Before you dive into catchy subject lines and email copy, there's a crucial step: warming up your email inbox. Trust me; it's a game-changer for email deliverability and building credibility.
Email warmup means gradually building credibility for your account. It helps prevent email service providers from blocking or flagging your messages before they reach your leads.
Starting slow is vital. You can't send hundreds of emails all at once with a fresh account. The warmup is about gradually increasing your daily sending volume until providers get used to it.
For example, Gmail and Office 365 have daily limits (e.g.2,000 emails for Gmail, 10,000 for Office 365). Warmup helps you reach those limits over time, making it normal to send thousands of emails.
But it's not just about quantity — it's quality too. Your emails should generate engagement, so the best warmup tools have inboxes that interact, respond, and engage with your emails, so you look legit to the ESPs.
So, before you hit send, warm up your inbox. Check this article for a detailed guide on how to do warmup right.
(Spoiler alert: You can do it yourself or speed things up with warm-up automation tools.)
Warmup is a small investment that pays off. It helps your emails reach the right people and ensures your cold email marketing kicks off with a bang.
2) Find Leads and Get Good Data
It's time to put on your prospecting hat and start hunting for those valuable leads with an AI lead finder that understands natural language queries!
Fortunately, there's an array of tools available to assist you in this endeavor, including Findymail, Hunter.io, Apollo.io, and many others (I’ll delve into those in just a moment).
When it comes to finding leads, the secret sauce lies in obtaining good data that equips you with the necessary information for confident outreach. Whether you plan to send cold emails or make cold calls, having the right data makes all the difference.
The best lead lists are customized to match your specific sales approach and requirements. For example, if you’re dealing with a committee, you’ll want a comprehensive company lead list that includes key stakeholders' contact info.
This way, you'll have a complete view of the decision-making process and can tailor your outreach accordingly.
Conversely, if you're dealing with individual prospects, you’d focus on obtaining data that highlights their specific pain points, previous solutions they've tried, and other relevant information. Personalization and relevance are key here.
In the quest for effective lead lists, there are a few qualities they should possess:
- Extensive Data Insights: The best lead lists provide a wealth of demographic, firmographic, and psychographic data about your prospects. It's like having a gold mine of information that allows you to understand who your prospects are and what drives them.
- Fresh and Accurate Contact Information: Outdated contact details are a salesperson's worst nightmare. Good lead lists ensure the information provided is up-to-date and accurate, saving you time and frustration when reaching out to leads.
- Pre-Qualification Capabilities: Your time is precious, and you want to focus on engaging with prospects who will most likely be a good fit. Effective lead lists allow you to filter and target prospects based on specific criteria so you correctly prioritize your outreach efforts.
If you want to learn more about the art of building a lead list that gets results, I’ve already done a deep dive you can check out when you’re done here.
3) Verify Your Email Addresses w/ Findymail
You'll be sourcing emails from all sorts of channels – LinkedIn, your own inbox, browsing with the Findymail Chrome extension, and more. But before you hit that send button, there's an important step you shouldn't skip: verifying your email addresses and validating your lead list.
Why is this important? Well, sending emails to invalid or non-existent addresses can harm your sender reputation and result in lower deliverability rates. Using a reliable email verification tool like Findymail ensures your lead list is up-to-date and accurate before launching your cold email campaigns.
Luckily, there's a tool designed specifically for this purpose: Findymail.

With Findymail, you can easily verify your email addresses and validate your lead list. The process is straightforward and efficient, saving you time and effort.
If you're using Sales Navigator or Apollo to find leads, Findymail allows you to export your leads directly from these platforms. It seamlessly integrates with these tools, making it a breeze to validate your email addresses.
Even if you've created your own lead list, you can simply upload your spreadsheet to Findymail and let it do the work for you. It's designed to easily handle bulk validations, ensuring you have a clean and reliable lead list.
What's more, Findymail is even integrated with Google Sheets so that you can find and verify email addresses right there on the spreadsheet page. It's a seamless and convenient process, eliminating the need for switching between multiple tools.
4) Use the Right Cold Email Marketing Software
To supercharge your cold email marketing efforts, you need the right tools that improve your workflow, enhance deliverability rates, and offer features like scheduling and follow-up automation.
Here are some tools I think can level up your B2B outreach game:
Apollo.io
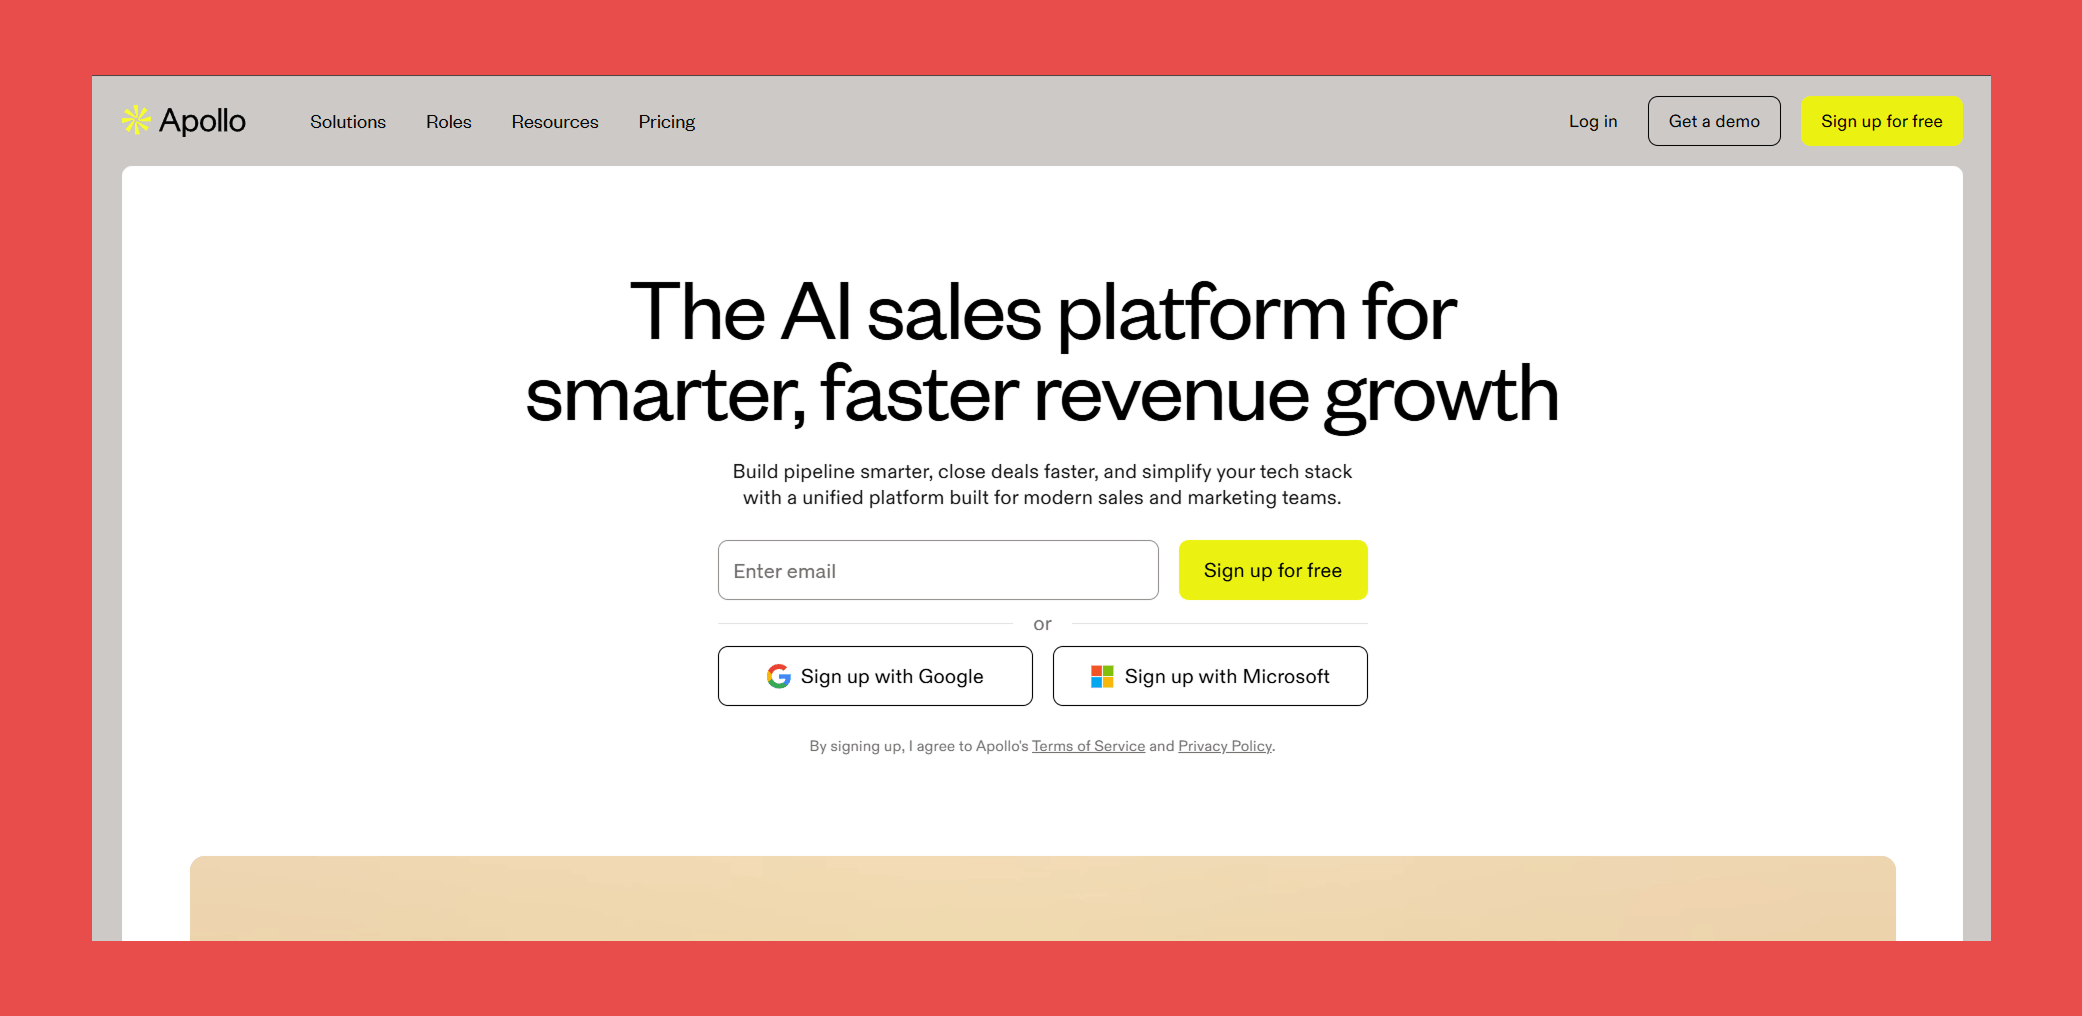
When it comes to prospecting, Apollo.io is a top contender. Their extensive contact database boasts over 220 million contacts with verified email addresses and a whopping 200+ data attributes. You'll gain insights like VC funding, persona matching, and engagement activity.
Plus, Apollo enriches leads in your CRM, keeping you updated on job changes and company news to personalize your cold email icebreakers. They also offer sales automation, empowering you to scale your outreach efforts effectively.
Woodpecker
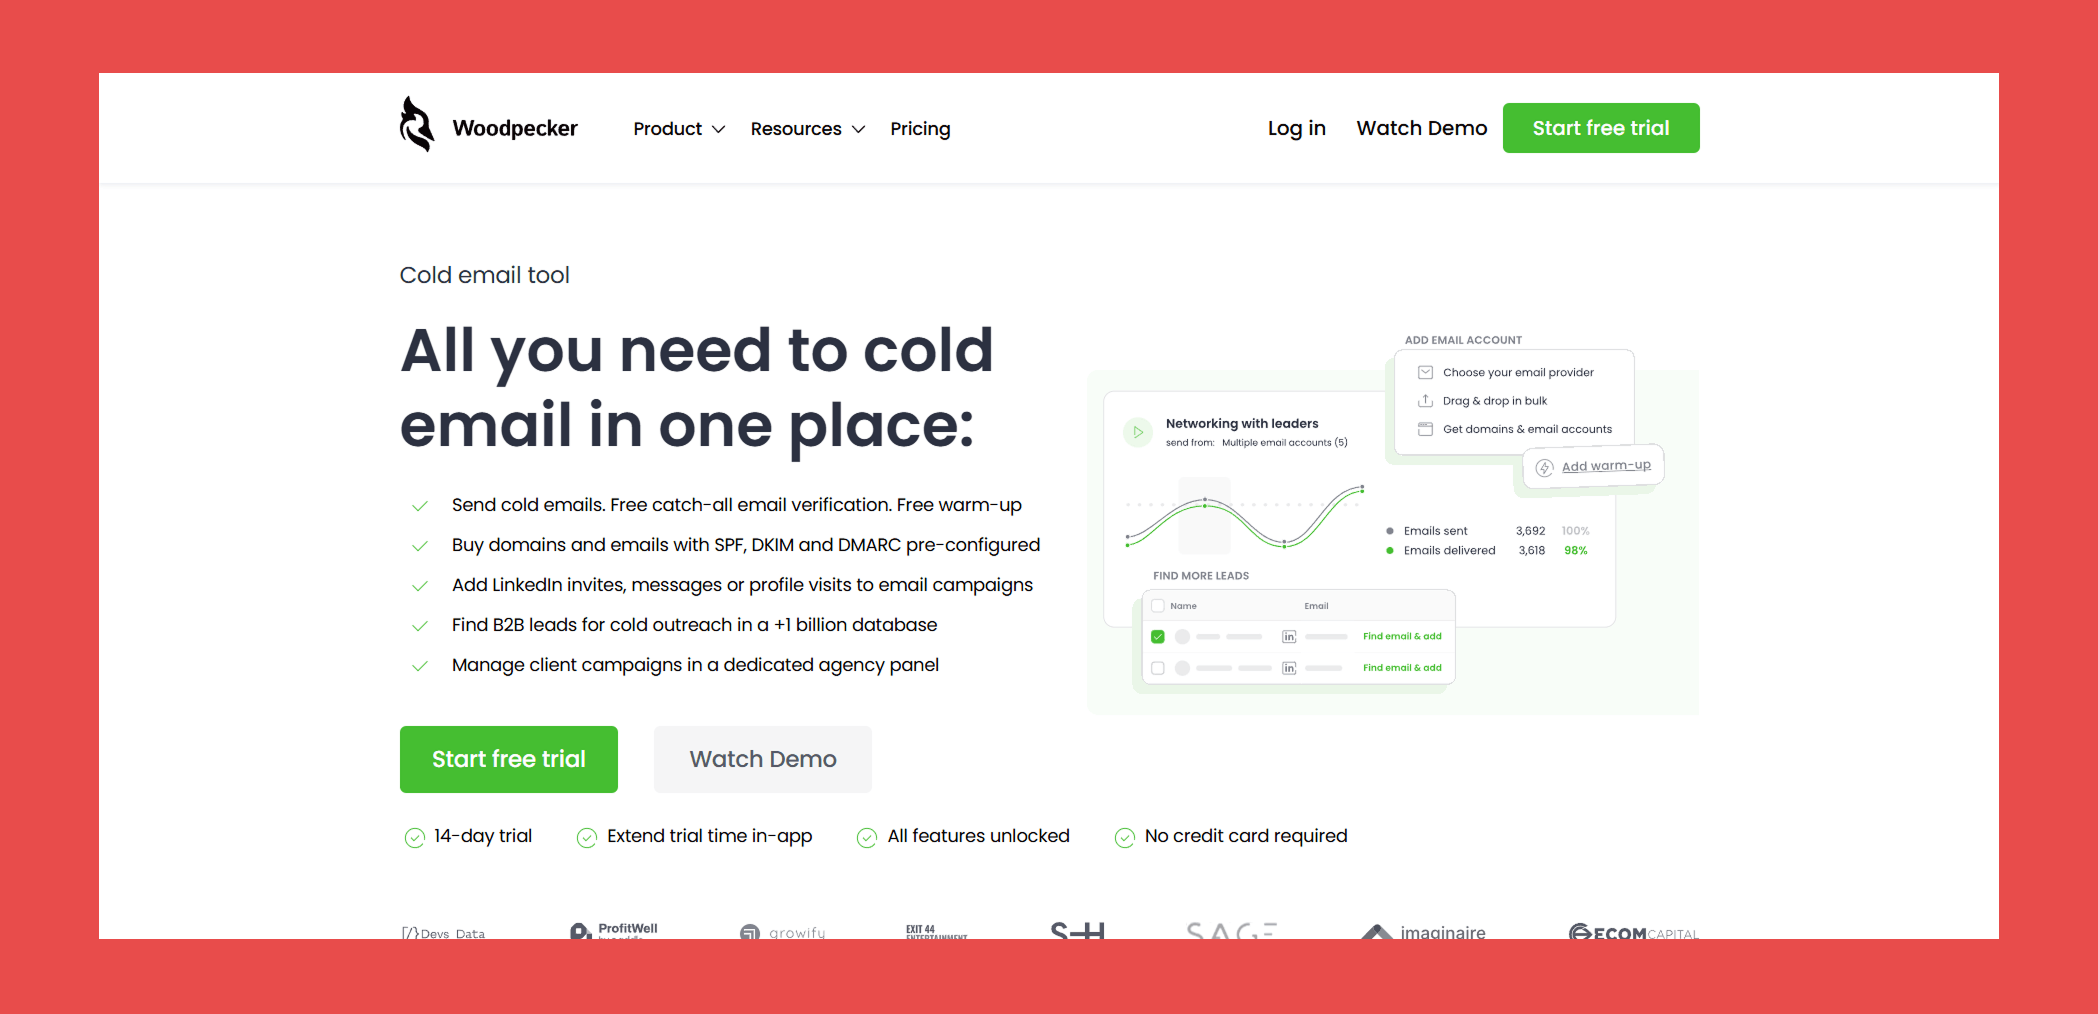
Woodpecker is a go-to platform for automating your cold outreach. It streamlines your emails with personalized templates, follow-up sequences, calls, and LinkedIn tasks.
It monitors deliverability, engagement, and provides inbox-warming capabilities. You can modify follow-up sequences based on prospect behavior to ensure the right level of communication.
Snov.io
Snov.io is a sales toolbox that offers domain-based email scraping and a handy Chrome extension for on-the-go email acquisition. While it doesn't have an extensive prospect database, Snov.io provides technology checking and integrates with their CRM for organizing deals and pipelines effectively.
Lemlist

Lemlist covers all the essentials, including email warm-up, automated sequences, engagement tracking, and follow-ups. But where it shines is in its exceptional personalization features. With liquid syntax, personalized images, and landing pages, Lemlist takes personalization to the next level. It also allows team collaboration with shared schedules and custom tasks for seamless hand-offs between sales roles.
Instantly
Instantly stands out with its AI features, particularly in determining the best sending times for your cold emails. While it won't write your emails for you, it offers email warm-up, inbox rotation, and customized cold email campaigns, ensuring your outreach hits the right notes.
Of course, these are just are few tools to start out your stack. There are tools for lead generation, data enrichment, and so much more. So don’t be afraid to try some out that you come across in the wild.
5) Personalization is Your Secret Weapon
When I talk about personalization, I don't necessarily mean going for a one-on-one approach. Sometimes, a targeted message tailored to a specific segment can feel just as personal to the recipient, even if it's addressed to multiple people at once.
Let me stress this: personalization is the secret weapon in your cold email arsenal. It's what sets you apart from the flood of generic emails people receive every day.
There are several ways to personalize your emails and make them stand out. First, consider using the recipient's name in the subject line or greeting. It adds a personal touch and grabs their attention right from the start.
Next, delve into their specific pain points or challenges. Show that you understand their situation and offer a solution that addresses their needs. This level of relevance goes a long way in capturing their interest.
You can also reference recent news articles or events related to their industry. It demonstrates that you're up to date and genuinely interested in their field. It shows that you've done your homework and adds credibility to your outreach.
To personalize effectively, conduct research during the prospecting phase. Take the time to understand the recipient's background, interests, and pain points. You can do this manually or use data enrichment tools to gather valuable insights.
One handy technique to implement personalization at scale is by using merge tags or personalization tags. These are placeholders in your email content that dynamically fill in real data for each recipient. They pull information from a CSV file or other data sources and populate variables in your email text.
Different CRMs and email tools use various formats for merge tags. For instance, Mailchimp uses *|FNAME|* for the first name tag, while other tools may use {{FirstName}} or variations like [first_name].
6) Make Sure the Subject Line’s On Point
Your subject line is the gateway to your email.
It's the first impression that determines whether your message gets opened or ignored. It holds tremendous power – a compelling subject line can increase your response rates by over 50%.
There's no one-size-fits-all approach when it comes to subject lines. What works for me may not work for you.
But I've got some tried-and-true principles that can help you craft killer subject lines that grab attention and entice recipients to click that "open" button.
Make sure your subject line:
- Piques Curiosity: Create an information gap that teases the reader with the promise of something valuable or intriguing inside your email. Don't give away all the details upfront; leave them curious and hungry for more.
- Delivers Immediate Value: On the other hand, don't be afraid to be direct. Let your recipients know right away what value they'll gain from opening your email. Highlight how your message can help solve their pain points or provide relevant insights.
- Adds a Personal Touch: Go beyond the basics of using a recipient's name. Get creative and find ways to personalize your subject lines by incorporating their goals, interests, or even mentioning mutual connections. Show them that your email is tailor-made just for them.
- Invokes Emotion: Tap into the power of emotions by creating a sense of urgency, exclusivity, or fear of missing out (FOMO). However, be genuine and avoid resorting to spammy clickbait tactics. Craft subject lines that evoke genuine curiosity and compel recipients to take action.
And if you really want to stand out, don't be afraid to inject some personality into your subject lines. Get creative, use catchy phrases, or sprinkle in some emojis to catch the recipient's eye and set yourself apart from the masses.
Here’s an example of what some winning subject lines look like:
- Quick Question, [first name].
- Ready to Achieve [specific goal], [first name]?
- Time-Sensitive Request: Need Your Input
- Uncover [specific benefit] with a Single Click
- [First name], Brace Yourself for an Exciting Idea
- Let's Connect: [first name], Can we chat on [date] or soon?
- 30 Seconds for a Game-Changing Idea? Challenge Accepted!
Of course, I’ve got you covered with another article that hooks you up with some catchy subject lines you can use for inspiration – or steal if you want.
7) Write Your Cold Email (w/ Templates)
Finally, we've arrived at the heart of the matter—the actual email. A cold email consists of several key parts beyond the subject line:
The introduction sets the stage for your email and serves as the initial connection with the recipient. Craft an engaging and personalized opening that clearly communicates why you're reaching out and piques their interest.
The body of your email is where you have the opportunity to showcase your value proposition, product, or service, and demonstrate how it can specifically benefit your prospect. Keep it concise, focusing on their needs and highlighting the tangible advantages they can gain by engaging with you.
You can always “hack” the process by finding a template that works for you.
The CTA is the pivotal moment where you guide the reader toward the desired action. Craft a clear, specific, and compelling CTA that encourages them to take the next step, whether it's visiting your website, scheduling a call, or exploring a special offer.
Your email signature can provide a professional touch and offer additional information such as your contact details, social media profiles, or relevant links that further establish credibility and make it easy for the recipient to connect with you. Some professionals also include a virtual business card link so prospects can quickly access and save their contact details.
When it comes to writing the body of your email, two important principles should guide you:
- Authenticity over Sales-y Language: Avoid sounding overly pushy or excessively sales-oriented. Instead, focus on building a genuine connection with the recipient. Let the value of your offer shine through and allow your product or service to speak for itself.
- Benefits, Benefits, Benefits: While features have their place, emphasizing the benefits of your solution is what truly resonates with prospects. Clearly explain how your offering can solve their problems, streamline their processes, save them time, or enhance their lives in meaningful ways.
Now, let's explore some original cold email templates that can serve as inspiration:
Template 1:
Subject: Quick Question
Hey {{Recipient's Name}},
I came across {{something relevant or interesting}} and couldn't help but think about you and {{specific industry or role}}. I'd love to learn more about your experiences and see if there's a way I can support you.
Mind sparing a moment for a quick question?
-{{Your Name}}
Template 2
Subject: Exclusive Opportunity Inside
Hi {{First Name}},
I recently discovered an exclusive opportunity that could revolutionize how businesses in {{specific industry}} tackle {{a common challenge}}. It's designed to {{specific outcome or benefit}}. Can I share more details with you?
-{{Your Name}}
Template 3
Subject: Making Waves in {{Recipient's Industry}}
Hey {{First Name}},
I've been following your work in {{recipient's industry}} and wanted to reach out with an exciting proposition. Our {{product or service}} has been making waves by helping companies like {{mention a relevant success story or testimonial}} achieve {{specific goal}}.
I'd love to jump on a call to discuss how we can empower you to reach new heights.
-{{Your Name}}
Feel free to personalize these templates and adapt them to suit your unique offering, target audience, and objectives.
Add your own personal touch, emphasize the benefits, and make each email feel like a genuine conversation tailored to the recipient.
This format has been working great for me in the past few months!
8) Schedule Your Campaign
Now that you've crafted compelling cold emails, it's time to focus on delivering them at the most opportune moments to maximize engagement. Finding the perfect timing requires some experimentation, as there's no one-size-fits-all answer.
However, based on my research, here are some general guidelines to consider:
Optimal Time of Day: Aim to send your emails between 10 AM and 3 PM. This time frame aligns with when most people are at their desks, have finished their morning routine, and are ready to tackle the rest of their day. By reaching them during these hours, you increase the chances of your email being seen and read.
Best Days of the Week: Tuesday, Wednesday, and Thursday tend to yield better results for cold email campaigns. On Mondays, people are often catching up from the weekend, and on Fridays, they may already be mentally winding down for the weekend. By focusing on the middle of the week, you catch your prospects when they're in the work mindset and more receptive to new opportunities.
Remember that these guidelines are not set in stone. Your target audience may have unique schedules and preferences.
To find the optimal send time for your cold email campaign, consider the following steps:
Analyze Your Audience: Take into account the characteristics and habits of your target audience. Are they in a specific time zone or industry that could impact their availability? Understanding their schedule can help you align your send times accordingly.
Observe Response Patterns: Monitor your email response rates and identify any patterns. Are there particular days or times when you receive higher response rates? This data can provide valuable insights into when your audience is most likely to engage with your emails.
Directly Engage Your Audience: Send a quick survey or poll to gather information on their preferred email-receiving times. This approach demonstrates your consideration of their needs and provides you with direct feedback to refine your scheduling strategy.
The key to scheduling your email campaign effectively is to test and adapt.
Continuously monitor your results, tweak your timing strategy, and remain flexible.
Cold Email Marketing Best Practices
Before we wrap everything up, here are some tips to implement for a successful cold email marketing strategy:
Steer Clear of Spam Trigger Words: Hey, you don't want your emails to end up in the dreaded spam folder, right? So, avoid using those pesky spam trigger words or phrases like “FREE!” and “CLICK NOW!”
Use Quick Reply Templates: Time is precious, my friend. That's where quick reply templates come with ready-made answers to common questions or inquiries. With just a few clicks, you can provide prompt and consistent responses.
Segment Your Audience: Not all prospects are created equal. Break down your audience into meaningful groups based on factors like industry, company size, or role. By tailoring your messages to specific segments, you'll speak their language and make a real connection.
A/B Test Like a Pro: A/B testing is your ticket to optimization. Mix things up and compare different elements – subject lines, CTAs, email copy – to see what hits the bullseye with your audience.
Check out my LinkedIn for more on-the-go cold email advice
Elevate Your Outreach with Effective Cold Email Strategies
Mastering the art of cold email marketing can open up exciting opportunities for generating leads, scheduling meetings, and ultimately closing deals.
By following the tips and strategies shared in this article, you'll be well-equipped to confidently navigate the world of cold email.
And if you're looking for a reliable email verification and lead generation solution, don't forget to check out Findymail – it's designed to streamline your process and enhance your outreach efforts.
So, go ahead, craft those compelling emails, forge meaningful connections, and unlock the potential of cold email marketing.
The inbox is waiting, and success is just a click away!
Findymail verifies your lead list in real time, so you're only sending to valid, deliverable addresses, with a bounce rate of 5% or less. Guaranteed.
Sign up today → get 10 credits free!

Valentin
Valentin Wallyn is the founder and CEO of Findymail, a SaaS platform he launched to help B2B teams discover accurate email and contact data and automate data enrichment at scale. With an IT background, Valentin combines a technical mindset with hands-on experience in outreach and growth. His work centers on improving data quality and prospecting efficiency, drawing on years of entrepreneurial experience and a deep understanding of what makes outreach campaigns succeed.