
In the world of B2B sales, email communication is key.
But with so many emails sent and received daily, you have to give your recipients an easy way to opt out of future emails if they're no longer interested.
Not only is it the right thing to do from an email etiquette standpoint, but it's also legally required and keeps your email deliverability ticking like a Swiss watch.
In this article, I'll walk you through the process of how to add an unsubscribe link to emails and templates on various platforms, so you can stay compliant and maintain high conversion rates!
Using Merge Tags
Merge tags are like magic words that you can use to personalize your emails and make them more engaging. And if you want to add an unsubscribe link to your email, there's a special merge tag just for that!
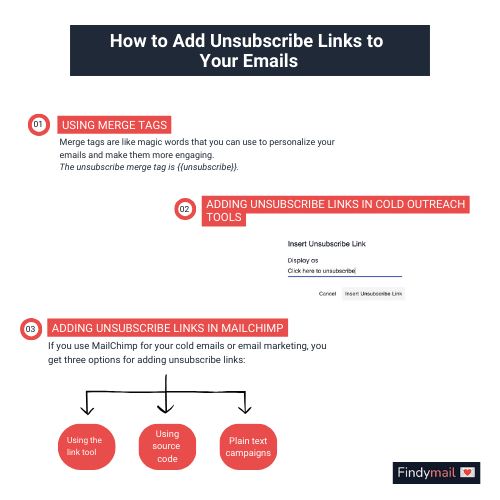
The unsubscribe merge tag is {{unsubscribe}}. To use it, you just need to create a link that includes the tag. Here's an example of how to do it in a block editor:
- Select the text or button you want to turn into an unsubscribe link in your email.
- Click on the link button in your block editor (you know, the one that looks like a chain).
- In the URL field, enter the unsubscribe merge tag surrounded by double curly braces: {{unsubscribe}}.
And that's it! The tag will automatically be replaced with a working unsubscribe link in your final email.
Adding Unsubscribe Links in Cold Outreach Tools
Did you know that many cold outreach tools give you the option to add unsubscribe links to your emails?
As an example, let's take a look at how you can add an unsubscribe link in Instantly (a tool I’m super happy Findymail now integrates with):
- First, log in to your Instantly account and navigate to the campaign you want to work on.
- Next, look at the bottom of the sequence editor and look for the "Unsubscribe" button.

- Click the "Unsubscribe" button and enter your desired text in the "Display As" section. Maybe something fun like "Set me free!" or "No more, please!".

And that's it!
You're all set to send your outreach emails with an easy-to-find unsubscribe link.
Adding Unsubscribe Links in Gmail & Outlook
If you're using Gmail or Outlook to send emails, adding an unsubscribe link is a quick and easy process. However, there won’t be any direct unsubscriptions - instead, you’ll need to direct the recipients to your default unsub page.
Here's how to add unsubscribe links to emails in Gmail and Outlook:
For Gmail
- Start your plain text email, and once you're done, scroll down to the bottom.
- Add a line of text that says "Unsubscribe" or something similar. Make it bold or underline it so it catches the reader's eye.
- Highlight your new text and click the "Link" button in the Gmail toolbar.
- Paste the link to your unsubscribe page into the pop-up window that appears. Check that the link is correct and click "Apply."
- And there you go! You've added an unsubscribe link to your email in Gmail.
For Outlook
- Write your email like you normally would.
- At the end, add something that says “Unsubscribe.”
- Highlight the text and look for the "Insert Hyperlink" button in the Outlook toolbar.
- In the "Address" field in the pop-up window that shows, enter the link for your unsubscribe page. Now click "OK."
- Now you’ve got your unsubscribe link!
See, it’s not so hard! Of course, it’s better to use software that lets you automate the process when you’re sending out mass emails.
Adding Unsubscribe Links in MailChimp
Now, let's talk about how to add an unsubscribe link in MailChimp. The great news is that MailChimp is a dedicated outreach platform that makes it super easy to include an unsubscribe link.
Here are a few ways to do it:
Using the Link Tool
The first way is simple with the link tool.
- Open the Campaign Builder and navigate to Content, and then Edit Design.
- Enter your desired Unsubscribe text into the box and make it stand out.
- Add the *|UNSUB|* merge tag into the Web Address (URL) field.
- Click Insert, then Save & Close.
- And just like that, you've added an unsubscribe link to your email campaign.
Using Source Code
If you’re comfortable using HTML, you can also go this route.
- Open the text box editor and click on the <> symbol in the toolbar to add HTML.
- Enter the following code:
<a href="*|UNSUB|*">Unsubscribe from this list.</a>
- Click the <> again and then Save & Close.
- Now your emails are ready to go.
For Plain-Text Campaigns
It’s also easy if you’re running Plain-Text Campaigns.
- Write your plain text emails as you usually would.
- At the end, enter a phrase that looks like "Go here to unsubscribe: *|UNSUB|*".
- Now MailChimp will automatically add a link that goes to your hosted unsubscribe page.
Examples of Fun and Creative Unsubscribe Buttons
Don't be afraid to have fun with your unsubscribe buttons, either!
Just because someone wants to stop receiving your emails doesn't mean you can't make the experience a bit more interesting.
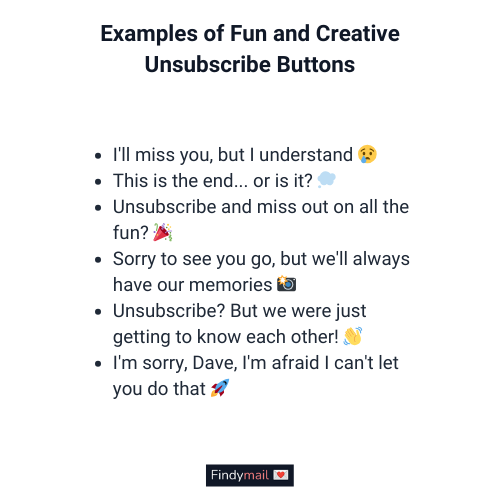
Here are some examples of what I mean by unsubscribe messages:
- I'll miss you, but I understand 😢
- This is the end... or is it? 💭
- Unsubscribe and miss out on all the fun? 🎉
- Sorry to see you go, but we'll always have our memories 📸
- Unsubscribe? But we were just getting to know each other! 👋
- I'm sorry, Dave, I'm afraid I can't let you do that 🚀
Of course, emojis are fun, but make sure it’s clearly the unsubscribe button. And brush up your knowledge on the etiquette of using emojis in your emails.
The Benefits of Adding Unsubscribe Links to Your Emails
Look, I get it– no one wants to see subscribers go. But adding unsubscribe links to your emails is actually a good thing.
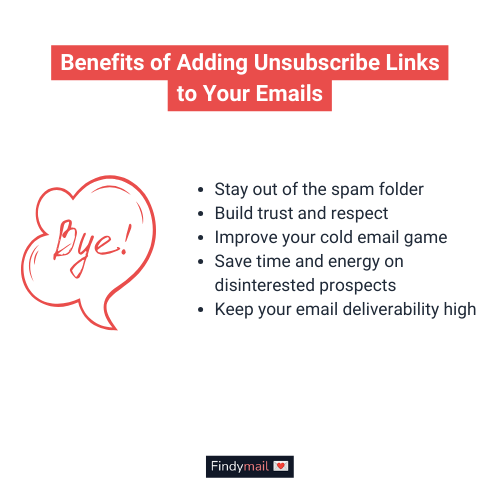
Here are a few reasons why:
Unsubscribe Links Keep You out of the Spam Folder
When people can easily opt out of your emails, they're less likely to mark them as spam. And believe me, you do NOT want to end up in the spam folder. It's like getting stuck in the back of a dark, musty closet where no one can hear you scream.
OK, that might be a bit dramatic, but you get what I’m trying to say. Even if those opens just make you end up in the Promotions tab, you’ll start getting fewer responses.
Builds Trust and Respect
Giving people the power to choose what emails they receive shows that you respect their time and preferences. It's like saying, "Hey, we know you're busy and we don't want to clog up your inbox with stuff you don't care about."
Helps You Improve
When people unsubscribe, they often have a reason why. Maybe your content isn't hitting the mark, or you need a qualification boost because they're just not in the market for what you're selling. Either way, this feedback is invaluable and can help you tweak your emails to better serve your audience.
Saves You Time and Energy
Since you're not wasting time and resources on people who aren't interested, you can focus on the ones who are.
It's like Marie Kondo-ing your email list. "Thank you, next" to those who don't spark joy, and "Hello, gorgeous!" to the ones who do.
Similarly, removing the disinterested prospects from your mailing list means you’ll get far more accurate open, engagement, and response rates.
Keeps You Out of Hot Water
Depending on where you're located, there may be laws and regulations around email marketing that require you to include an unsubscribe link in your emails. By including it, you're covering your butt and avoiding any potential legal issues.

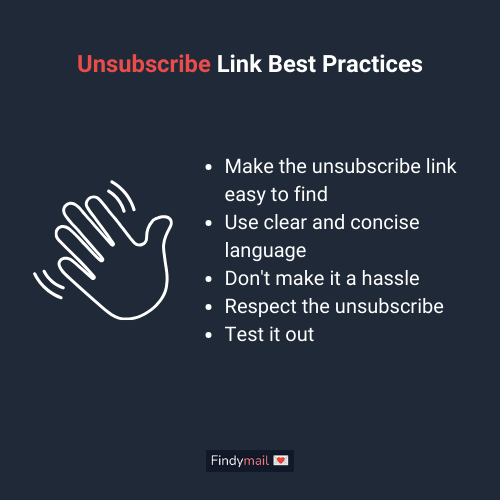
Unsubscribe Link Best Practices
Now let’s talk about the do’s and don’ts of unsubscribe links. Don't worry; it's not as dull as it sounds! Here are some tips to keep in mind:
- Make the unsubscribe link easy to find: Nobody has the time to dig through your email looking for an unsubscribe link.
- Use clear and concise language: You don't need to get fancy with your wording.
- Don't make it a hassle: Don't make them fill out a survey or jump through hoops to get off your email list.
- Respect the unsubscribe: Once someone has opted out, honor that request. Don't try to win them back with endless emails or sneaky tactics.
- Test it out: Before sending your email, test the unsubscribe link to make sure it actually works.
Follow these, and you’ll have no issues with your unsubscribe link!
Wrapping Up
Adding an unsubscribe link is a must, but that doesn't mean it has to be dull.
No matter what email platform you use, you can easily add an unsubscribe link using the steps and tips I’ve outlined here.
And don't be afraid to add your own unique touch! Get creative with your unsubscribe link and have some fun with it.
After all, it's the little things that make your emails stand out. Just remember to keep it respectful and easy to find, and you'll be on your way to building strong relationships with your recipients.

Valentin
Valentin Wallyn is the founder and CEO of Findymail, a SaaS platform he launched to help B2B teams discover accurate email and contact data and automate data enrichment at scale. With an IT background, Valentin combines a technical mindset with hands-on experience in outreach and growth. His work centers on improving data quality and prospecting efficiency, drawing on years of entrepreneurial experience and a deep understanding of what makes outreach campaigns succeed.