

Dealing with Outlook's email limitations can be frustrating. You're in the zone, crafting amazing personalized copy, only to hit a roadblock – a cap on the number of emails you can send in one go.
Despite Microsoft's good intentions, these limitations can seriously hinder your productivity and, ultimately, your bottom line.
In this article, I'm going to delve into what the maximum recipient limit for Outlook is and some workarounds I found so you can send your emails without a care in the world.
What’s the Maximum Recipient Limit for Outlook?
Outlook stands tall as one of the go-to email clients, especially when it comes to B2B communications. However, Microsoft has implemented a cap on the number of recipients you can address in a single mass email. And while it might seem like a buzzkill, there's a good reason behind it: spam protection.
The logic is simple – preventing spammers from exploiting the system and inundating inboxes with a barrage of emails. This measure safeguards the integrity of the platform and ensures that genuine communications can flow smoothly.
If you have an Office 365 subscription, the recipient limit is set at 500 recipients. This means you can send a single mass email to a maximum of 500 different recipients, whether listed in the To, Cc and Bcc fields combined.
But there's another aspect to keep in mind – the recipient rate limit.
This limit dictates how many recipients you can reach out to on a daily basis. With a cap of 10,000 recipients per day, you have the freedom to send emails to as many as 10,000 distinct recipients every single day.
Microsoft has tailored these limits to strike a balance between allowing legitimate users to communicate efficiently while curtailing the potential for misuse.
Now that you’ve got a clear grasp of the limits, let's dive into the creative strategies that can help us work around them and make the most out of our email outreach efforts.
4 Workarounds for Outlook’s Maximum Recipient Limit
Fortunately, there are ways to get around this cap Microsoft has placed. Let’s explore them below:
1. Create Multiple (Sub)Domains
When it comes to outsmarting Outlook's email limits, a clever workaround involves a touch of tech-savviness – creating multiple domains.
Think of it as expanding your digital territory to broaden your outreach. This strategy can be particularly handy when you're dealing with large-scale campaigns or diverse target groups.
Here's how it works:
Step 1. Domain Diversification
Let’s say you want to engage with both your customer base and your internal team. Instead of relying solely on your main domain, you create subdomains for specific purposes.
For instance, you establish @support.company.com for customer interactions and @internal.company.com for team communications.
Step 2. Distributing the Load
Now, as you plan to send emails, divide your recipient list based on their role or interests.
For your customer-focused emails, use the support subdomain. For internal communications, rely on the internal subdomain. This distributes the load and lets you sidestep Outlook's recipient limits more effectively.
Of course, this method has its drawbacks, such as domain and reputation management. However, if you have the tech know-how or the team, it can be an effective solution to send more mass emails.
2. Use a Distribution List (Contact Group)
When the need to outsmart Outlook's email limits arises, the distribution list, now known as a contact group, steps onto the stage as your email ally. This technique can be particularly handy for focused internal communications or engaging specific segments.
Here's what you need to do:
- Launch Outlook and look for the Navigation bar. Click on "People.”
- Under "My Contacts," select the folder where you want to house your contact group. Most often, this would be "Contacts."
- On the Ribbon (the upper menu), click on "New Contact Group." This is where your distribution list magic begins.
- Assign a name to your newly minted contact group. Make it something meaningful that reflects the purpose of the group.
- Click "Add Members" to start populating your contact group. You can select people from your existing address book or contacts list. If someone is missing from your existing list, don't worry – there's a way.
- While adding members, you'll encounter options to include individuals from your address book or contacts. For those who don't fall into these categories, you can add them as "New Email Contacts."
- Once you've assembled your contact group, hit "Save & Close." Your new email shortcut is now ready to streamline your outreach efforts.
While contact groups can include a significant number of members, bear in mind that Outlook's recipient limits still apply.
If your group exceeds these limits, consider employing other strategies, such as segmenting your distribution across multiple groups.
3. Use Outlook’s Mail Merge Feature
Outlook also has another feature that you can use to send bulk emails: mail merge. However, it takes quite a few steps to get all set up, but here’s what you need to do:
Step 1. Craft Your Message
- Start with a blank document in Word and compose the body of your email message.
Step 2. Initiate Mail Merge
- Open Word. Go to Mailings > Start Mail Merge > Email Messages.
Step 3. Set Up Your Recipient List
- Make sure your data source (recipient list) is ready. It should include email addresses.
- If needed, create a new list or use an Excel spreadsheet.
- Ensure Outlook is set as your default email program if using Outlook contacts.
Step 4. Link Recipients to Email Message
- Go to Mailings > Select Recipients.
- Choose your data source.
- Save the file.
Step 5. Personalize the Content
- Go to Mailings > Greeting Line.
- Choose your preferred format.
- Insert the merge field and save the file.
Step 6. Preview and Finalize
- Choose Preview Results to see how your email will look.
- Click Finish & Merge > Send E-mail Messages.
- Select the email address column from your list for the To field.
- Set the Subject line.
- Choose the Mail format (HTML or Plain text).
- Select the records you want to send to.
- Click OK to initiate the mail merge.
Step 7. Save Your Creation
- Go to File > Save.
- Keep the connection to the data source for future use.
Yes, it’s a bit involved, but this lets you personalize and send emails en masse, with each recipient getting their tailored version.
4. Utilize Third-Party Outreach Tools
Utilizing cold outreach tools is by far the easiest workaround to maneuver around Outlook's email limitations. These tools are designed to streamline your email campaigns and provide features that make your outreach not only efficient but also highly effective.
Here are a few examples of some awesome tools:
Saleshandy

SalesHandy equips you with tools that elevate your email game. From tracking email opens and clicks to automating follow-up emails and bulk emails, it's a powerhouse for sales and outreach teams.
Mailchimp
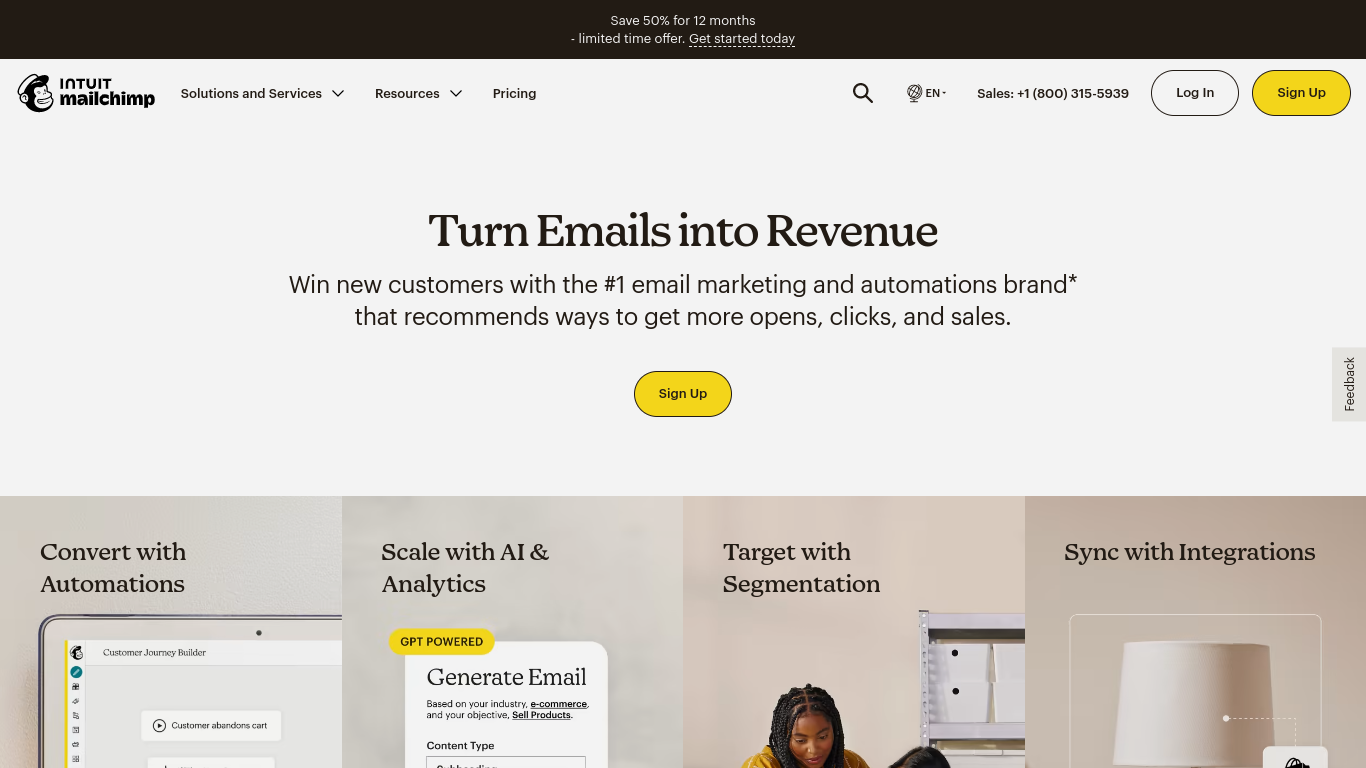
Mailchimp is a versatile tool that excels in delivering targeted emails to a broad audience. Its user-friendly interface, pre-designed templates, and tracking capabilities make it a favorite among salespeople and marketers.
ContactMonkey
ContactMonkey focuses on internal comms, so if you’re working with a large team, it’s a fantastic option because it allows you to send out a whopping 10,000 emails in a day.
These are just a few tools available. If you’re already using something similar, it likely has a mass email feature, too.
What’s great about cold outreach tools is that they don't just break through Outlook's limitations; they come with a suite of benefits that enhance your entire email strategy. These include the following:
- Detailed Metrics: Cold outreach tools offer analytics that reveal recipient behavior. From open rates to click-through rates, you gain valuable insights into the effectiveness of your campaigns.
- Segmentation: These tools allow you to segment your recipient list based on various parameters. This means you can tailor your messages to specific groups, boosting engagement and relevance.
- Automation: Automate follow-up emails, reminders, and responses, allowing you to nurture leads and stay engaged without manual effort.
- Professional Presentation: Templates and customizable designs help you create emails that look polished and aligned with your brand.
- Time Optimization: Cold outreach tools optimize your emailing schedule, ensuring that your messages land in recipients' inboxes at the most opportune moments.
While these tools are designed to be user-friendly, there might be a slight learning curve as you explore their features. Invest some time in understanding their functionalities to reap the full benefits.
Nonetheless, cold outreach tools stand as the most straightforward workaround to Outlook's email limitations.
Break Your Limits with Findymail
Outlook's email limits might seem like hurdles, but armed with the right strategies, they're merely stepping stones to more effective outreach. Each strategy here presents its unique strengths, enabling you to bypass constraints while boosting engagement and reach.
Undoubtedly, outreach tools provide the simplest workaround. They not only offer solutions to limitations but also provide invaluable insights and automation that elevate your campaigns.
However, don’t forget to properly warm up your inboxes before launching your outreach campaign or firing off hundreds of emails at once.
Another tool that stands out is Findymail. With Findymail, you gain access to verified email addresses – an indispensable asset for any successful cold email campaign.